Decorate your cakes like a pro!

A few drops of food coloring are enough to revolutionize your cakes.

Airbrush & Chocolate

Customer reviews

décoration layer cake

Lea's workshops

Learn cake decorating with our favorite pastry chef , Léa, during her online workshops or in our kitchen. Airbrushing colors onto your desserts will soon hold no secrets for you!

Discover

Cheap airbrush

Which airbrush to start? You don't have to go broke to discover the joys of pastry airbrushing . Aero Cake beginner food airbrushes are not expensive and are a good compromise to discover how to airbrush paint and have fun decorating your homemade cakes and chocolates, thanks to our airbrush guide included.

Which airbrush should I choose?

Airbrush Pastry

Baking is both an art and a science, and that's especially true when it comes to the world of cake decorating .

Whether it's a simple batch of cupcakes for your child's birthday party or a monumental wedding cake for two hundred guests, you need a combination of knowledge, experience and of artistic abilities. You also need the right tools.

Airbrushing can be an incredibly effective cake decorating technique and yield beautiful results. It can be much faster than painting with a brush or dyeing individual batches of fondant or icing.

In addition to its time-saving benefits, the pastry airbrush can also be essential for achieving certain designs, such as those for ombre cakes, where the different colors blend seamlessly. Similarly, airbrushing is the best way to apply stencil designs.

As is the case with many baking appliances and utensils , the quality of products available varies widely when it comes to cake decorating airbrush kits . Some airbrush kits are, unfortunately, very difficult to use and tend to create more problems than they solve.

Even the most experienced cake decorator will struggle to achieve the desired effect with a poorly designed airbrush kit .

In order to save others the frustration of having to work with difficult kits, at Aero Cake we decided to create our own pastry airbrush kits . We have created several food airbrush kits that are a little more affordable, depending on the level of mastery of airbrushing pastry or baking utensils in general, in order to offer the best airbrush kit for cake decorating for beginners, amateurs or professional.

Before you start, take a look at our demo videos to see an example of what you can do with the Aero Cake airbrush.

This Aero Cake kit is reasonably priced yet works great and comes with all the essentials you'll need. It includes an airbrush compressor equipped with three airflow settings, an airbrush with a flexible hose and small bottles of food coloring .

Beginners will also be happy to know that this Aero Cake food airbrush kit includes a simple, illustrated user guide that not only explains how to use the Aero Cake airbrush, but also includes helpful tips and tricks for decorating food. cakes using the airbrush gun . Our online store also offers a satisfaction guarantee, promising a full refund if for any reason you are not satisfied with the Aero Cake Kit .

This is a gravity fed single action pastry airbrush . The terminology might be a bit confusing at first, but basically one action means you just have to pull the trigger to release the paint (which makes things especially easy for beginners), and the Gravity feed allows for slower release, making detail work a little easier and more precise.

Overall, this is a great airbrush kit for beginners and occasional cake decorators. With a little experimentation, it's fairly easy to learn, comes with everything you need - including compatible food coloring - and works great, especially considering its price.

True pastry airbrushing enthusiasts, and those with varied and specific food airbrushing needs, should probably consider investing in our professional-level Aero Cake Airbrush Kit ; but our Aero Cake airbrush will be perfectly sufficient for many bakers.

The best thing about this airbrush kit is that it's incredibly easy to use. Even if you're a complete beginner, with this Aero Cake Kit you'll be up and running in no time. Many bakers are intimidated by the prospect of venturing into airbrushing , and we can understand their apprehension.

When looking for airbrush kits , you are likely to find many that come with a wide range of parts, accessories, and settings. The detailed lists of technical specifications for each kit can also be very long and complicated to go through.

While all of this might be helpful to some degree, it was just too much for the airbrush beginner . That's why we recommend this simple and easy to use Aero Cake kit for beginners.

To start airbrushing food with this Aero Cake kit , just add your food coloring of choice, turn on the compressor and pull the trigger to start painting. The Aero Cake Compressor has three levels of adjustment - low, medium and high - that you simply turn with the Aero Cake trigger on top.

The design is simple and intuitive, and the Aero Cake Airbrush works remarkably well.

Without gravity feed, you can't work as slowly and deliberately, so if your cake decorating needs include fine lines or intricate detailing, you're better off using one of our Aero Cake Hobbyist Kits or professional.

If you're looking for an airbrush kit that really does it all, this is the Aero Cake kit for you. It's a good investment because it works remarkably well and comes with everything you need to achieve the most airbrushing techniques and designs.

You use the trigger to control both air and paint flow. It can be useful for more advanced airbrush drawings , but it takes some time and practice to master.

Many experienced cake decorators appreciate the improved control the next generation Aero Cake Airbrush provides.

A set comes with a useful cleaning kit and an airbrush holder. The Aero Cake kit also comes with small bottles of food coloring , all with ingredients certified and approved by current standards.

The cheap Aero Cake airbrush kit is great value for money. It can handle everything from large-scale background painting to the finest details.

The intricate patterns and techniques of airbrushing require the artist to have great control over everything from the airflow to the paint output speed. These things take time to learn and master, but for those willing to put in the effort, Aero Cake really is the best airbrush kit for cake decorating.

It works incredibly well and gives the user great control, while being easy to clean, maneuver and store.

Cake decorating can be one of the most fun, creative and exciting parts of baking, and learning to airbrush food can definitely kick your cakes up a notch or two! There may be a bit of a learning curve at first, but practice soon pays off.

Thanks to our airbrush pastry kits we want to democratize the decoration of cakes, desserts, pastries and chocolates even for beginners.

Food Airbrush

Contrary to popular belief, you can use any type of paint with your edible airbrush . The only condition is that it has never been used for other uses, that is to say that the airbrush must not have been used with inedible dyes before (paint, ink, make-up).

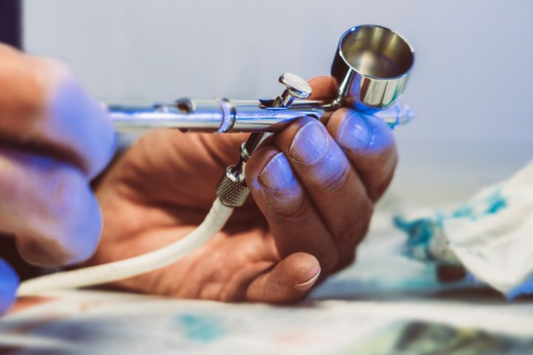
To work properly, your airbrush must be connected to a compressor , which will supply it with compressed air .

The choice of compressor is just as important as that of the airbrush because it must be able to supply compressed air with a constant flow of air .

Thanks to its tank which acts as a buffer by eliminating variations in air pressure . It is absolutely necessary that this aerographic airflow be greater than 20L/min, which corresponds to the minimum need for a compliant airbrush .

Finally, the ideal is to choose a model with a pressure regulator, capable of delivering air pressure up to 4 bar or more.

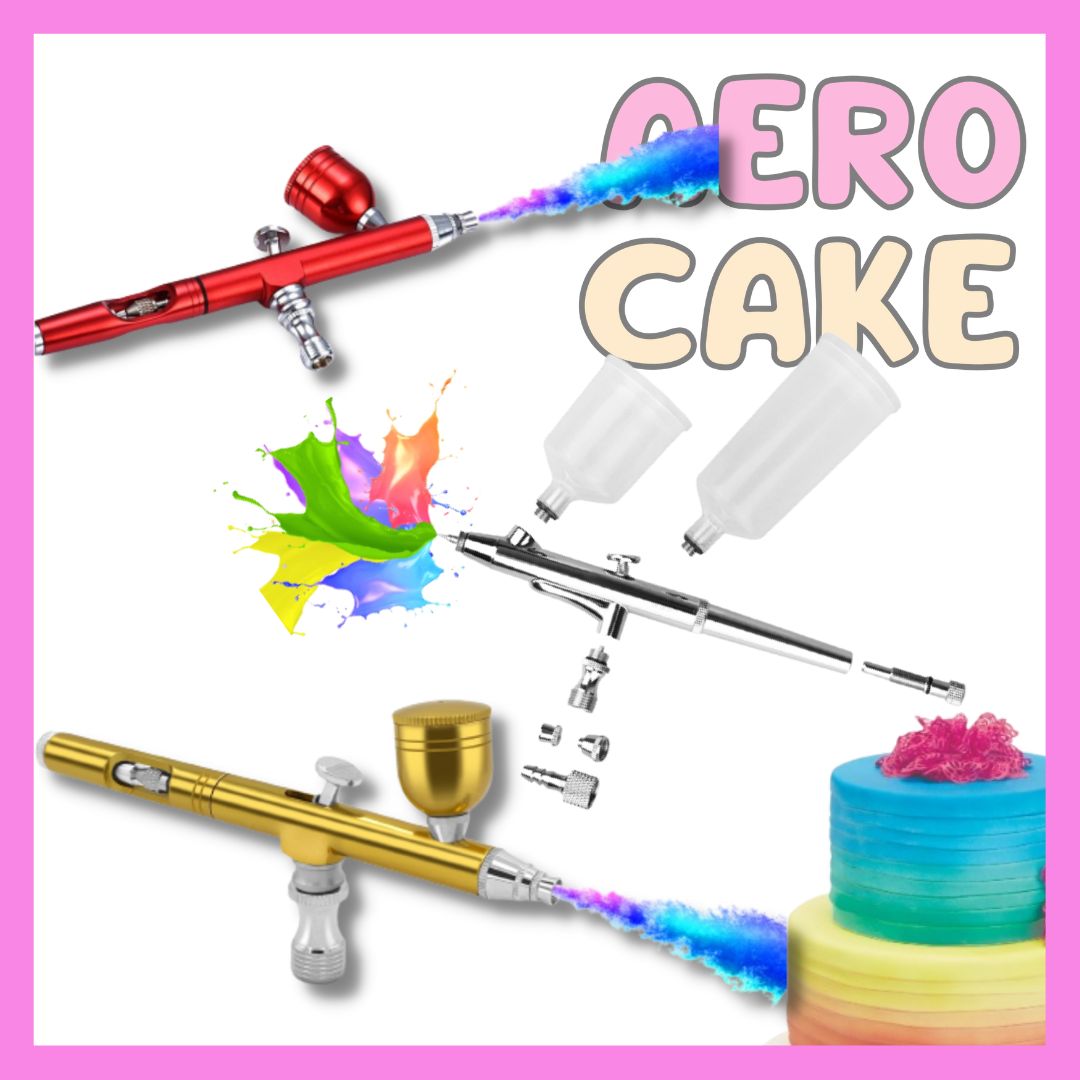
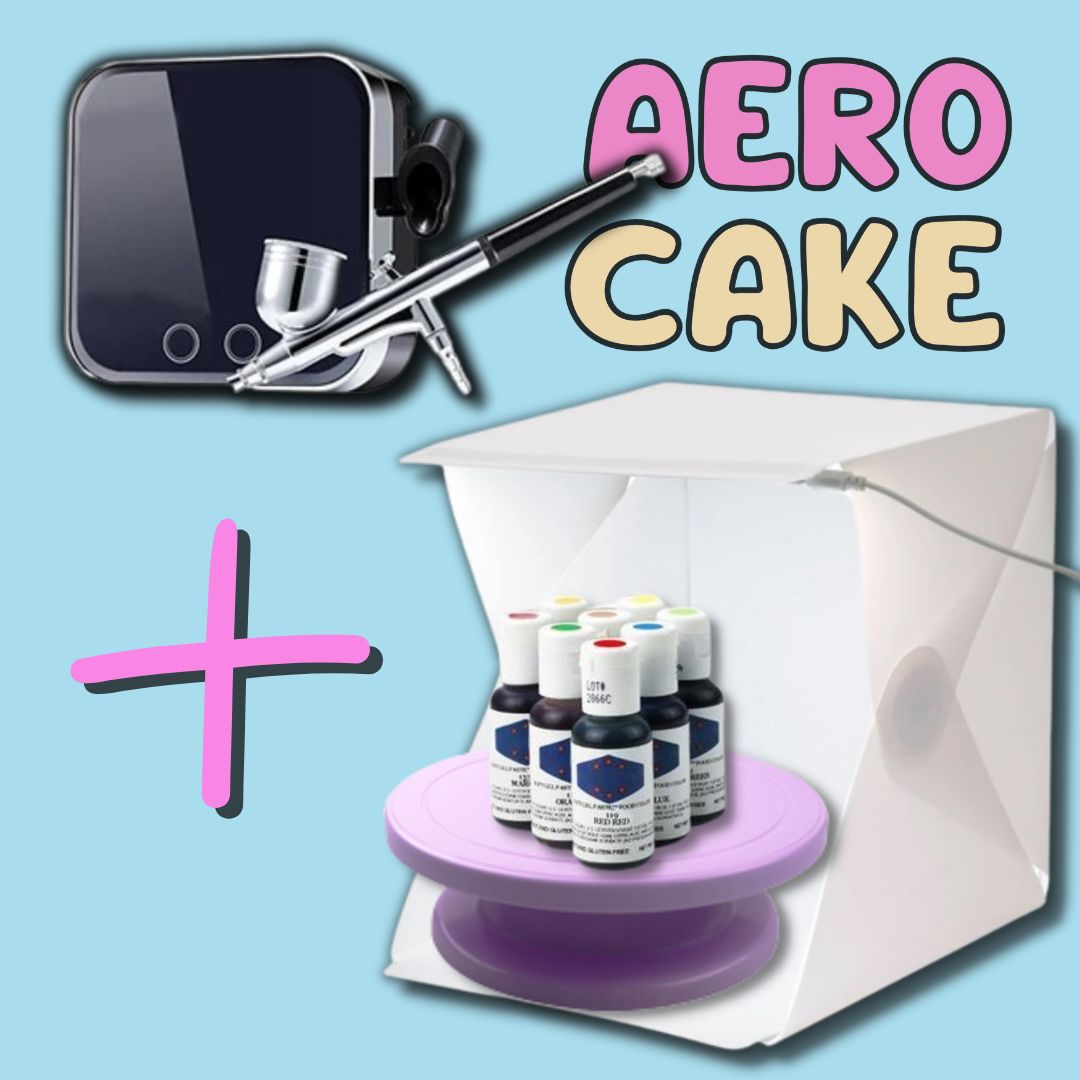
Our food airbrush Aero Cake with automatic pressure regulator is already equipped with these technical characteristics thanks to its bipolar airbrush compressor .


There are 7 types of food coloring which are all suitable for use with different recipes or mixtures and will give different intensities of edible color .

Liquid dyes are made from synthetic dyes and an aqueous base. It is an aqueous product and therefore the colors are not very concentrated. It's a good choice if you want pastel colors , but if you're looking for a stronger or darker color, you'll need to add a significant amount, which will thin out your mix.

Liquid food coloring is best used with other liquids such as syrup, water, chocolate, etc.

Gel or paste food coloring is much thicker than liquid coloring and the colors are even more concentrated and vibrant. However, it is trickier to use because it is very easy to add a little too much dye.

In fact, the best way to add it to your mixture is to scoop out a very small amount with a toothpick, stir it into your mixture, let it sit for 10-15 minutes and start again if necessary. Gel dyes get deeper over time, so it's important to let the mixture sit and see how it changes before adding more color.

Due to its consistency, it is ideal for coloring large amounts of pastry icing or dough at a time.

Powder food coloring is a completely dry form of edible food coloring , with no liquid. It is perfect for preparations that are sensitive to the amount of liquid added, such as chocolate or macaroons. It is important to know that it does not mix with water, so it must be mixed with a few drops of clear alcohol, or if you incorporate it into the dough, add a few drops of alcohol to the mixture.

This dry food coloring can also be used on dry materials to be applied with a brush directly to food as a decoration. Due to its dry consistency, it is not very easy to incorporate into a thick batter, and adding too much can dry out the mixture. Let the mixture sit for 5-10 minutes after incorporating the dry edible coloring to allow the color to fully develop.

Natural food colorings are made from dyes that are commonly found in nature, such as chlorophyll which gives plants their green color , or turmeric which is a plant commonly found in India and used for the yellow color . It is the best choice of edible coloring for allergy sufferers and health conscious people. Due to the relatively low heat resistance of natural ingredients , it is best used with low or no heat desserts and fillings.

Natural food colorings most often come in powder form. Most natural powdered food colorings fade within 24 hours when exposed to sunlight. Natural food colorings are formulated to have better stability and will retain their colors much longer than other colorings on the market.

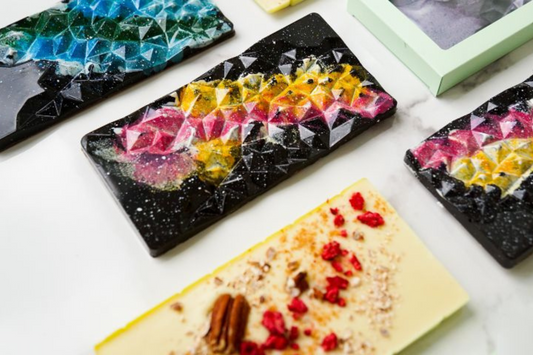
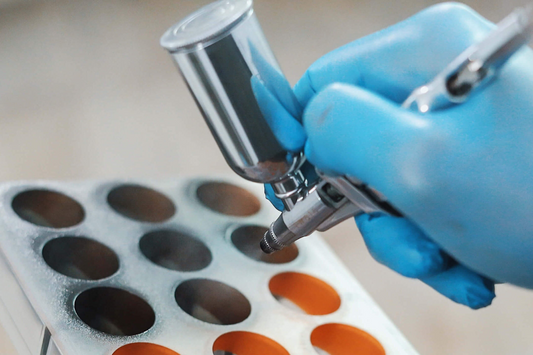
Airbrush food coloring is similar to liquid coloring in terms of ingredients, but has a different viscosity. It is designed to be thinner, specifically for use with an airbrush compressor machine. This method is perfect for creating more artistic effects on fondant, dry icing, cookies, or cakes using different edible colors .

Remember to clean your airbrush gun after each use to ensure the colors don't mix.

It's not enough to know the different food coloring styles and application techniques, other factors influence the final color you will achieve, even if you follow a specific color recipe.


The original color of your mixture will not always be white due to the presence of butter and/or eggs, which would make it rather light yellow, like buttercream or cake batter. This means that if you add blue dye , the mixture is likely to be slightly green, because blue mixed with yellow turns green. To fix this, start by adding a little white food coloring to make your mixture white, then add your desired food color .

Acidic ingredients such as lemon juice, vinegar, or cream of tartar can also affect the final color , making brown colors look slightly greenish, while purple can appear blue. It's best not to use these ingredients in recipes if you can.

Finally, if you're trying to get a really dark color like black or a really dark brown, it's best to start with a darker base like chocolate buttercream or cake batter, that way you'll need less food coloring .

It's always best to use natural light for airbrushing . Artificial light, especially yellow light, changes the way you see colors and you may get a different result than you expected. But while it's good to have natural light during the airbrush decorating process, once you're done, be sure to store your creation (and leftover icing) away from it. as contact with natural light will cause the colors to fade over time.

When making your icing or fondant coloring , it's best to let it sit for 1-2 hours as the color develops over time. For buttercream and fondant, the colors deepen over time as they dry, so it's best to stop at one or two shades lighter than necessary. For royal icing , the colors lighten as they dry, so it's best to stop one or two shades darker than necessary.

As a general rule, if you're not sure how much food coloring you'll need, start by adding your coloring one drop at a time, mix well, let stand, then repeat until you get the desired color. It's never a good idea to rush and add several color drops at once.

And if you don't have the patience to create your own food coloring , rest assured we have all the food airbrush coloring you need.

Chocolate Airbrush

Food airbrushing is a relatively new art form. Many pastry chefs and chocolatiers still use brushes to paint chocolate, but this task is much more tedious and time-consuming.

The Aero Cake airbrush is inexpensive and colors pastry and chocolate quickly, applying an even coat over the top of the chocolate or cake. The paints used to paint chocolate patissier , both with traditional brushes and with airbrushes , are made from an edible cocoa butter base and range in color from matte to pearlescent.

Transfer the paint from its plastic container into an airbrush jar. Reheat it in the microwave for a minute. Remove the pot from the microwave. Shake the container. If the color is not completely melted, put it back in the microwave and repeat the process until it is.

Spray the polycarbonate mould. When you airbrush chocolate, you're spraying the mold rather than the chocolate itself. Fix the chosen color with the food airbrush.

Start with the lightest color so you don't have to clean the airbrush after each color. Place the chocolate mold upright in a cardboard box to prevent paint from spraying onto your counter.

Hold the airbrush gun at a right angle to the table. Adjust the airbrush nozzle for a stronger or weaker spray. Spray paint on the side of the cardboard box before painting the chocolate mold to see if the desired effect has been achieved.

Clean up spills. Close the color jars tightly to store the cocoa butter paint. Wipe the chocolate airbrush with a warm, damp cloth. Dish soap helps remove excess cocoa butter . Use a straight pin or needle to remove the butter from the nozzle and a pipe cleaner for the airbrush hose .

Creating chocolatier masterpieces was once the specialty of artisan bakeries and chocolate shops. Today, thanks to advances in the kitchen and its modern utensils, anyone can create masterpieces in the realm of chocolate and patisserie desserts.

Spruce up your next dinner party or add some flair to an ordinary cake by creating your own airbrushed decorations using silicone molds or polycarbonate chocolate molds .

Surprise your friends and family with original and personalized desserts by simply spraying the colors of your choice.

Make colorful chocolates by following a few simple steps when creating your next chocolate recipe.

Buy preferred pastry chocolate for making chocolate candies . Most grocery stores and/or craft stores carry this type of chocolate. It is important to use couverture chocolate for the molding, otherwise the chocolate will not set properly in the chocolate moulds .

Prepare the desired amount following the instructions on the chocolate candy bag . Work with small amounts of chocolate as couverture chocolate hardens quickly.

Check the absence of dust and humidity in your polycarbonate chocolate moulds . If the molds are dirty or wet, the chocolate will not form properly. Remove all debris and moisture from the chocolate molds before using them.

Store the polycarbonate molds at room temperature at all times.

Pour the liquid chocolate into the molds using a spatula or a piping bag. Fill the melted chocolate to the top line of the mold. If the hot chocolate overflows, use a stainless steel spatula to even out and scrape off the excess tempered chocolate on the surface.

Tap the molds full of chocolate on the work surface to remove air bubbles from the chocolate. Air bubbles can cause cracking during the hardening process of homemade chocolate .

Place the polycarbonate chocolate molds in the fridge on a flat shelf. Check the molds every few minutes while they are in the fridge to make sure there is no overcooling. Small drops of condensation on the surface of your chocolate or cracks in your chocolate indicate that the chocolate has been in the refrigerator too long.

Remove the cold chocolate molds from the refrigerator once they have hardened. The chocolate hardening process should take around 10-20 minutes, depending on the size of the molds - 10 minutes for fairly small moulds, 20 for much larger moulds.

Invert the chocolate molds onto a dry surface. Gently tap the mussels. If completely hardened, the chocolate candy should come off easily.

Put the chocolate back in the fridge if it doesn't come out easily from the moulds. Take the molds out of the fridge and repeat the steps until all the liquid chocolate is out of the molds.

Wipe off any extra moisture that may have formed on the chocolate with a paper towel. Place on a plate and serve.

Molded chocolates , whether served alone or as an edible topping for cakes and desserts, add an elegant touch to your desserts. Soft, smooth-textured silicone molds are also suitable for homemade chocolate as they are durable, reusable and create a flawless surface.

Silicone molds also work incredibly well because the flexible material causes the mold to bend rather than the chocolate when trying to pry their chocolate candies out of their indentation.

Preferably use dark chocolate , milk chocolate or chocolate drops specially designed for the manufacture and molding of chocolate candies .

  • Discount Airbrush 🖱️

    More than 300 references in store. We add new products to our catalog only after testing them ourselves.

  • Customer service 7 days a week 🛎️

    You have a question? We are here to answer them. Our team works closely with its customers and will be happy to help you.

  • Quick order 📦

    Aero Cake offers delivery in France and also delivers anywhere in the world. Make your choice and our team takes care of the rest.